Overview
The easiest way to share data, both between your own instances, and between users, is to use an NFS share. The Manila plugin allows you to easily create a secure NFS share, and control its access.
Creating an NFS share
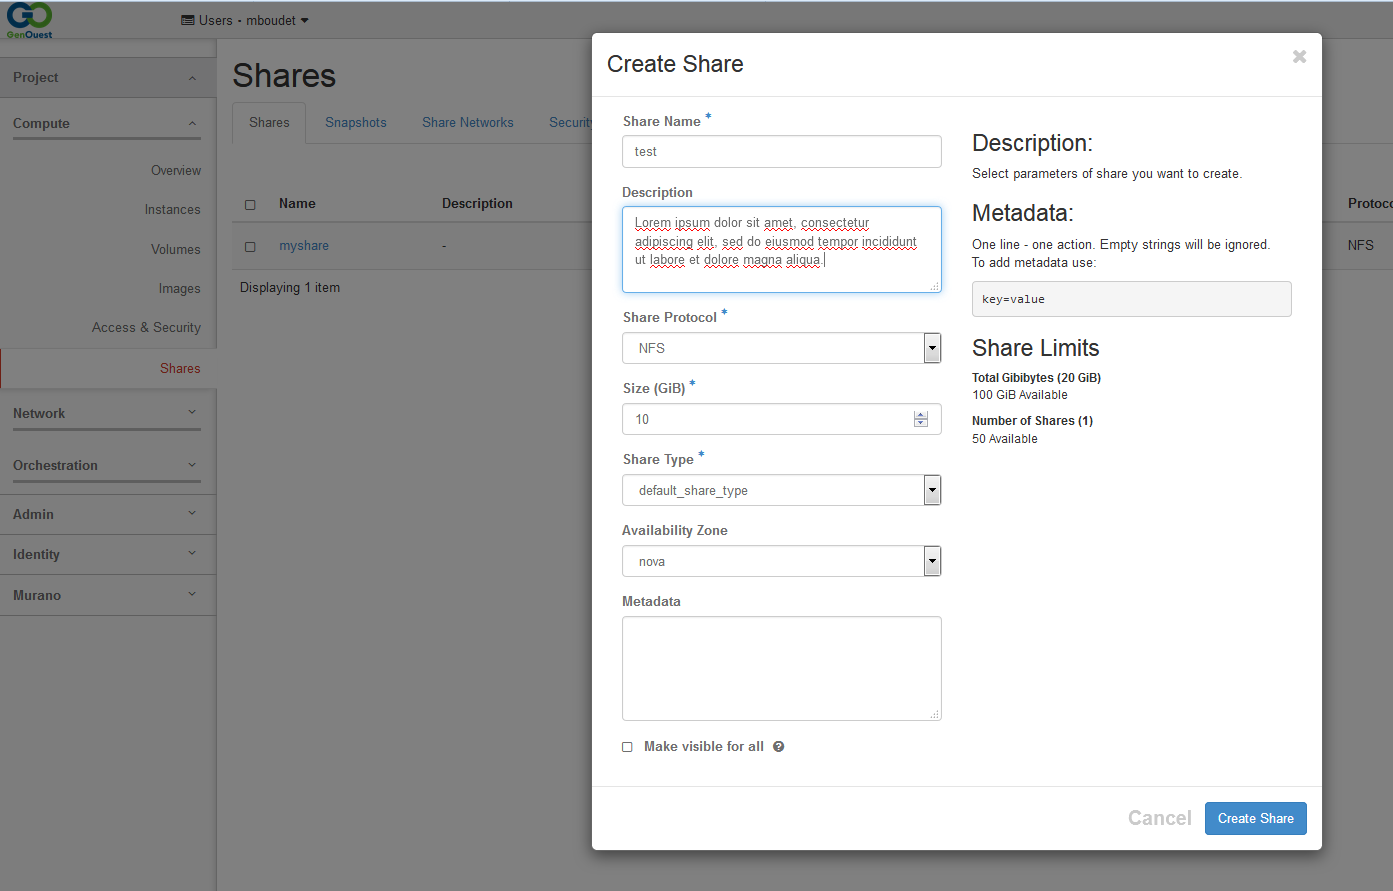
To create an NFS share, simply head to the “Shares” tab in your project. From there, you can click the “Create share” button. You can then customize your share, including the name and description. The main parameters you can customize will be the share size. By default, you can create up to 50 shares with a total size of 100 Go. You can also make your share visible to all users. If you use that option, make sure to secure your share access.
When your are done, simply click the “Create share button”.
Security
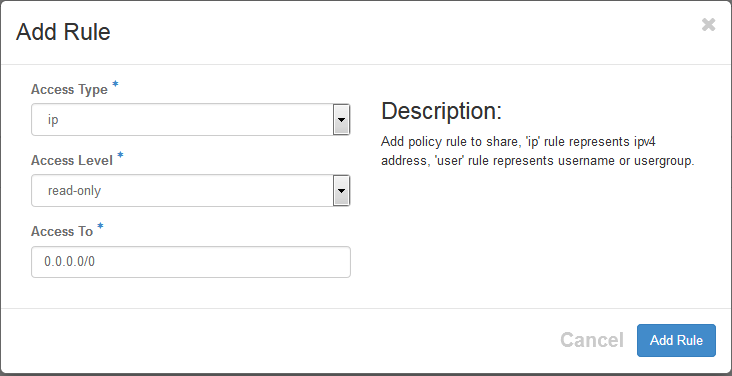
By default, nobody can mount your share on their instance. You need to add security rules to decide how the share can be used. To customize the rules,please select the “Manage rules” option on your share. For now, you can only filter access by IP, meaning you need to choose which instances can mount your share, based on their IP. You can also select whether the mount will be read/write or Read only, for each rules.
You will need to give the “Export locations” to any user you want to access your data.
You can select an IP range to be allowed. For instance, using “0.0.0.0/0” means all instances will be able to mount your share. If you made your share public at the creation, this could lead to a security risk. Please be careful when using IP ranges.
Mounting your share
You can mount your share just as you would do for any other volume. When in the “Shares” tab, click on your share name. The “Export locations” will be what you need to use in the mount command.
For instance, you can mount your share like this:
mount 192.168.100.2:/var/lib/manila/mnt/share-XX /mnt/my_share_folder
For a more permanent solution (persistent through reboot), you can fill out the /etc/fstab file.
To mount the previous share in Read/write mode, add the following line to the file:
192.168.100.2:/var/lib/manila/mnt/share-XX /mnt/my_share_folder nfs rw 0 0
To mount the previous share in Read only mode, add the following line to the file:
192.168.100.2:/var/lib/manila/mnt/share-XX /mnt/my_share_folder nfs ro 0 0
and use
mount -a
to mount the share.